Progress, at a glance.
See printer state, job progress and nozzle and bed temperatures. Open the local web interface for time remaining, file name and layer information.
YOUR PRINTER'S DESK COMPANION
A little more personality.
A friendly face for your printer. Live progress, temperatures and animated reactions, in a little companion you can make yourself.
MORE THAN A STATUS SCREEN
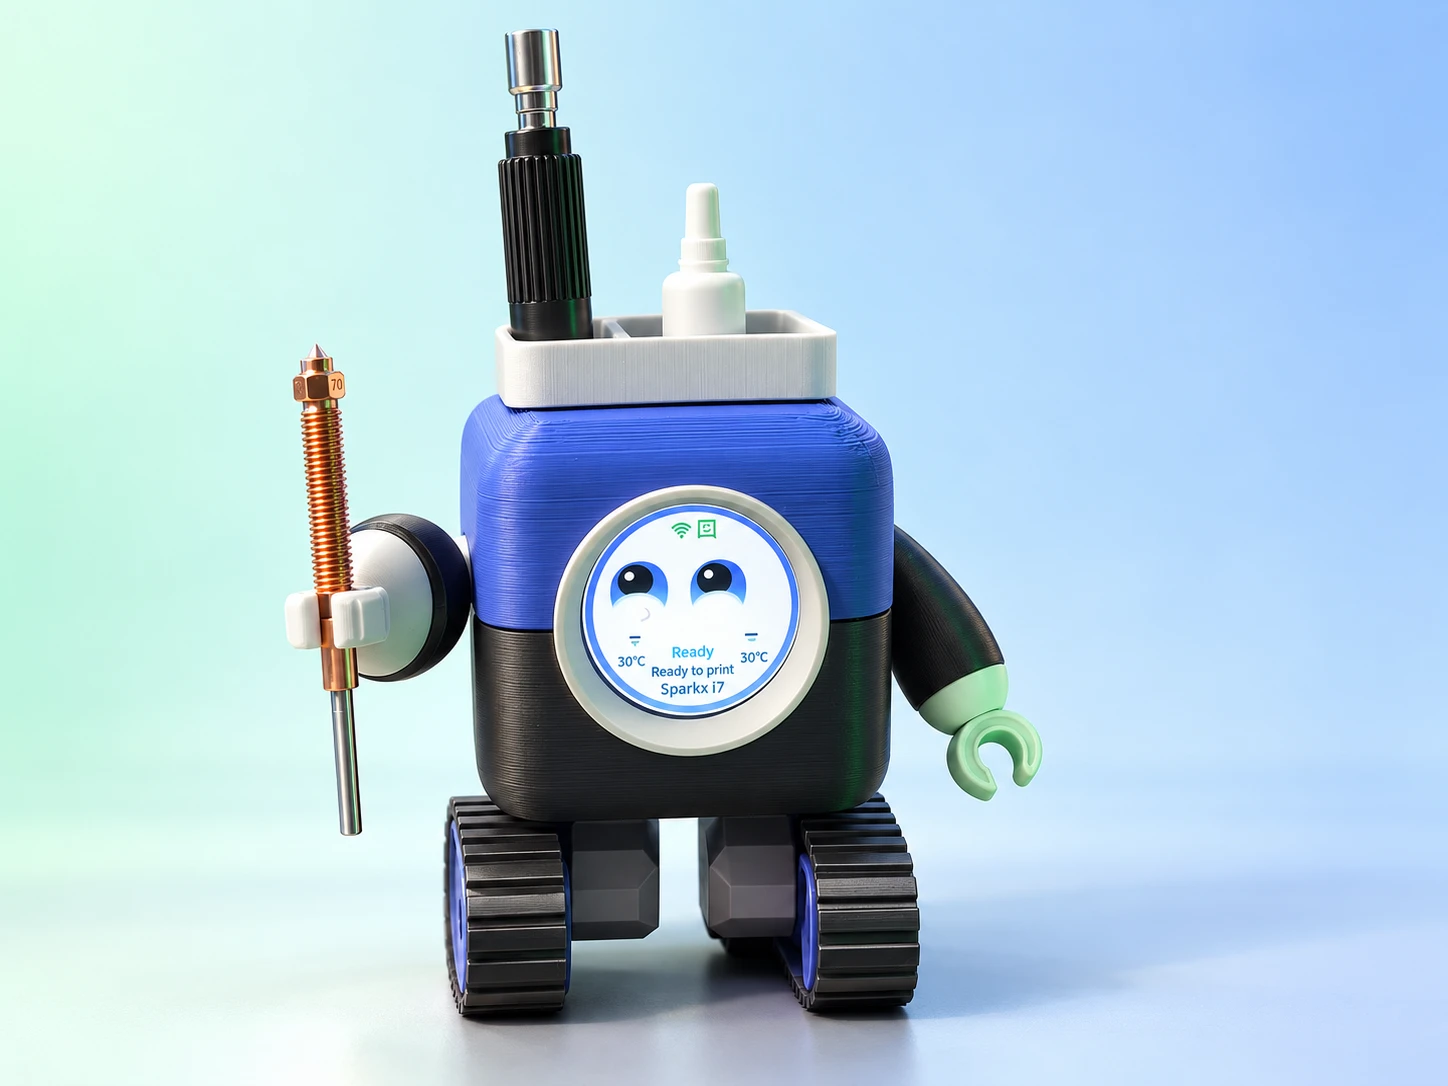
MokiMate follows your printer from its first warm-up to the finished print. Expressive eyes and a changing status ring bring the essentials to your desk, while the tool tray keeps little things close.
See printer state, job progress and nozzle and bed temperatures. Open the local web interface for time remaining, file name and layer information.
Eyes and ring animations respond to heating, printing, pauses and errors. A green ring lets you know your print is complete.
MokiMate reads your printer through Moonraker on your local network. No cloud service is needed, and your printer stays in control.
SMALL SCREEN. USEFUL DETAILS.
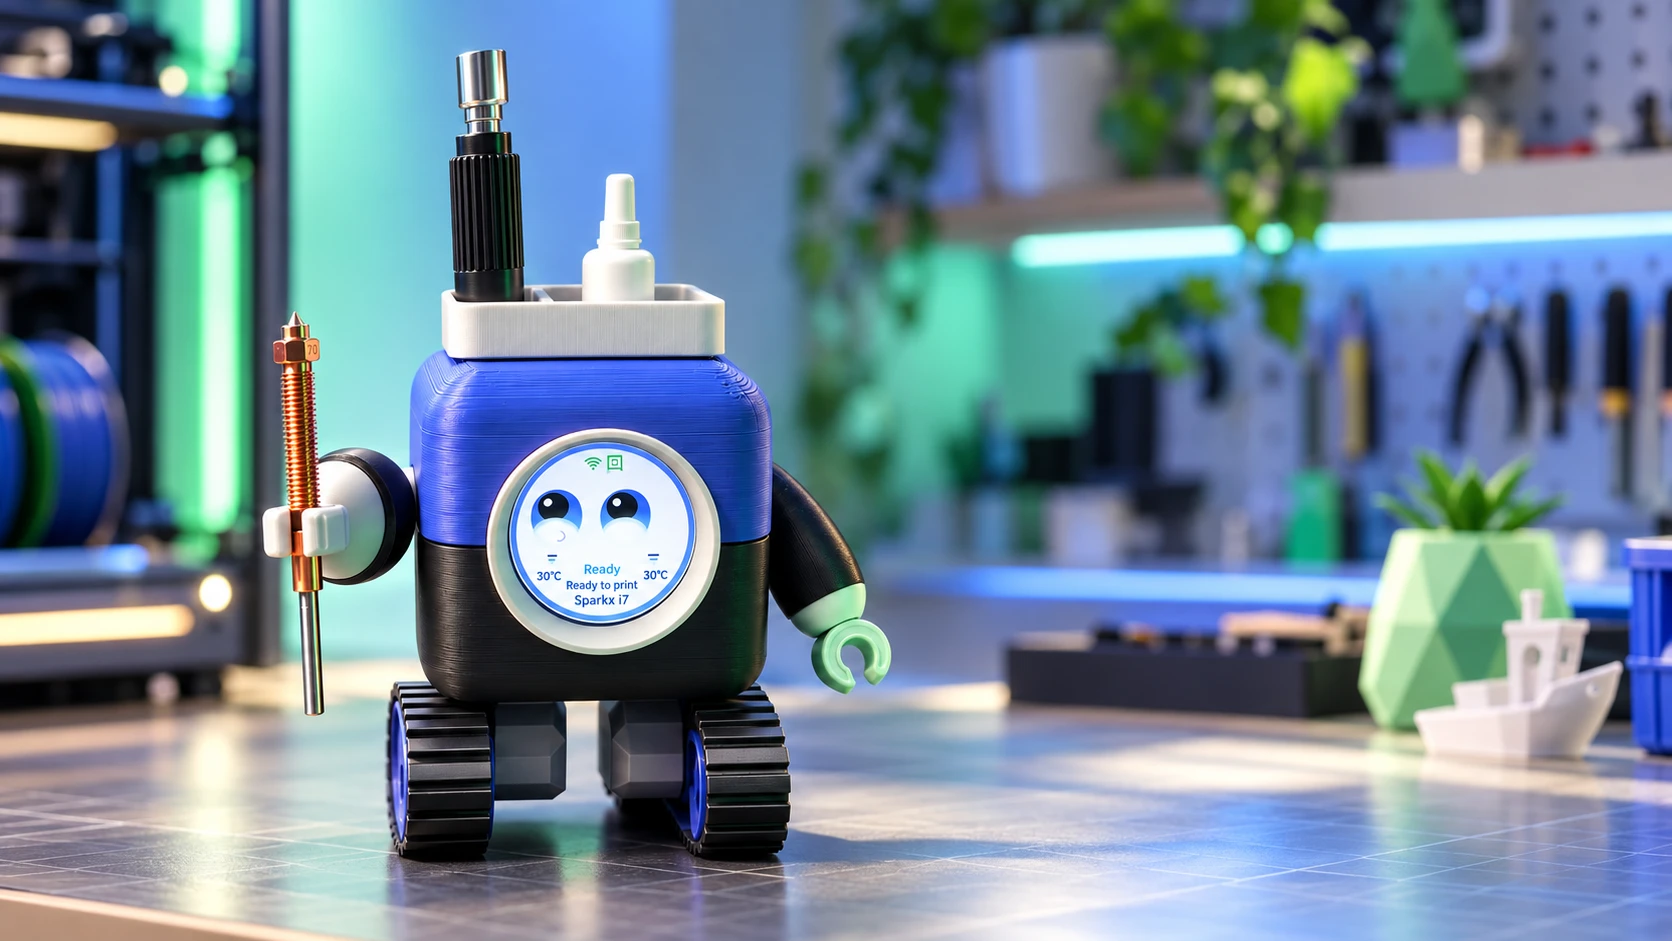
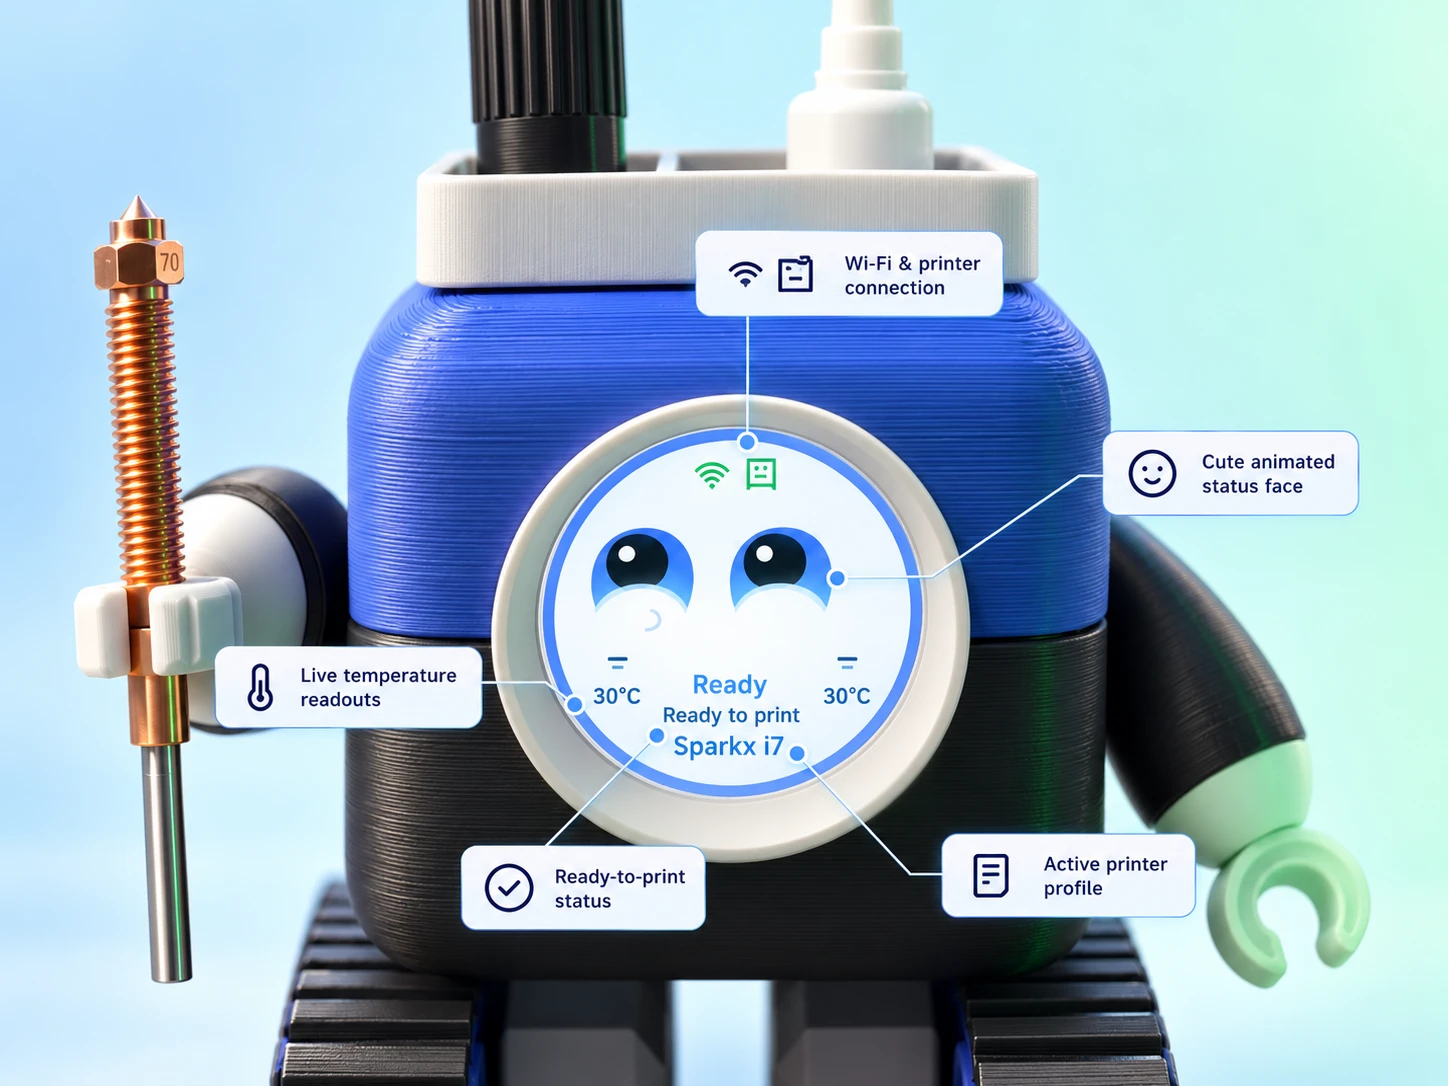
Connection icons, temperatures and the active printer profile sit around Moki's animated face. The ring changes with the job, so you can see what's happening with a glance.
Make it yours with eight accent themes, light or dark display modes, brightness and personality settings. Idle sleep rests the screen and wakes it when your printer's state changes.
BUILD YOUR OWN
Start with the printed parts and the right display board. Here's what you need for one MokiMate.
Download the model and print the enclosure and character parts. See the model page for the current files and printing notes.
Choose the non-touch ESP32-C3 version. It combines the controller and a 1.28-inch, 240 × 240 circular IPS display with a GC9A01 driver. USB-C handles power and programming.
A 10 cm / 3.9-inch flat cable with data and power. The right-angle male end connects to the board; the female end makes the USB port accessible outside the enclosure. The linked pack contains two cables; you only need one.
Use a data-capable USB lead to connect MokiMate to your computer for installation. A charging-only cable cannot install firmware.
Hardware links are the listings supplied in the MokiMate guide. Check the selected board version and cable specifications before ordering.
BRING MOKI TO LIFE
Install with Ark Flasher, then connect MokiMate to your home Wi-Fi and printer.
Open Ark Flasher in Chrome or Edge on a desktop computer. Choose MokiMate and follow its guided steps to connect your board with a USB data cable and install the firmware.
Open Ark FlasherKeep MokiMate powered. On your phone or computer, join the Wi-Fi network MokiMate using the password 12345678. The setup page normally opens automatically.
A “no internet” message is normal on this temporary setup network. Stay connected while you complete setup.
Choose a name, scan for Wi-Fi networks and select the same home network as your printer. Enter your Wi-Fi password, select Connect MokiMate and wait for it to restart.
Reconnect your phone or computer to your home Wi-Fi. Open the local address based on the name you chose: if you named it Moki, use http://moki.local/. Names become lowercase, with spaces and punctuation removed.
In Settings, choose your printer profile and enter your printer's local address. For SparkX i7, use port 4408; for Custom Klipper, use your configured Moonraker port. Select Reconnect Printer.
When the status reads Connected, you're ready. You can now adjust Moki's theme, brightness and sleep settings.
Setup page didn't open? Confirm you're still connected to the MokiMate Wi-Fi network, then use your phone or computer's Wi-Fi sign-in prompt if it appears.
Local address not opening? Check that you're back on the same home Wi-Fi as MokiMate. You can also find MokiMate in your router's connected-device list and open its IP address in your browser.
Printer not connected? Check the printer is powered on, its local address is correct and Moonraker is reachable on the selected port. Then select Reconnect Printer again.
Get the parts. Pick your colours. Bring Moki to life.