Made to run on its own.
After setup, K-Snap runs from USB power. Keep your phone's Camera app open; a computer isn't needed during the print.
YOUR PHONE. YOUR PRINTER. PERFECT TIMING.
Every layer. In the frame.
Turn your phone into a timelapse camera. K-Snap watches your printer's position and takes a photo when the toolhead parks, so your model can grow one frame at a time.
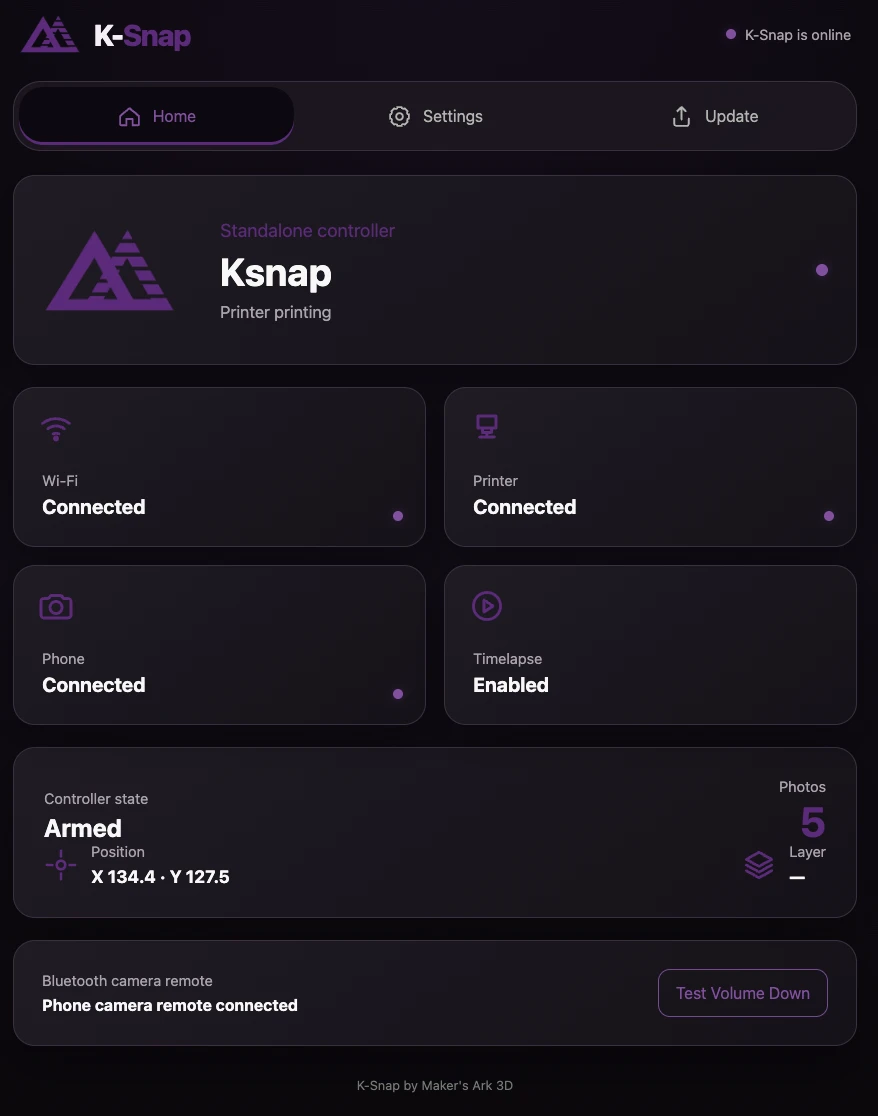
A LITTLE CONTROLLER. A BETTER VIEW.
Your slicer adds a park move. K-Snap detects when the toolhead reaches that point, waits for your chosen settling delay and sends a Bluetooth Volume Down command to your phone's camera.
After setup, K-Snap runs from USB power. Keep your phone's Camera app open; a computer isn't needed during the print.
Set the park coordinates, position tolerance and photo delay to suit your printer and framing. Test the shutter before the first layer.
The Home page shows Wi-Fi, printer and phone status, live X/Y coordinates and the shutter-trigger count. Use it to check that everything is ready.
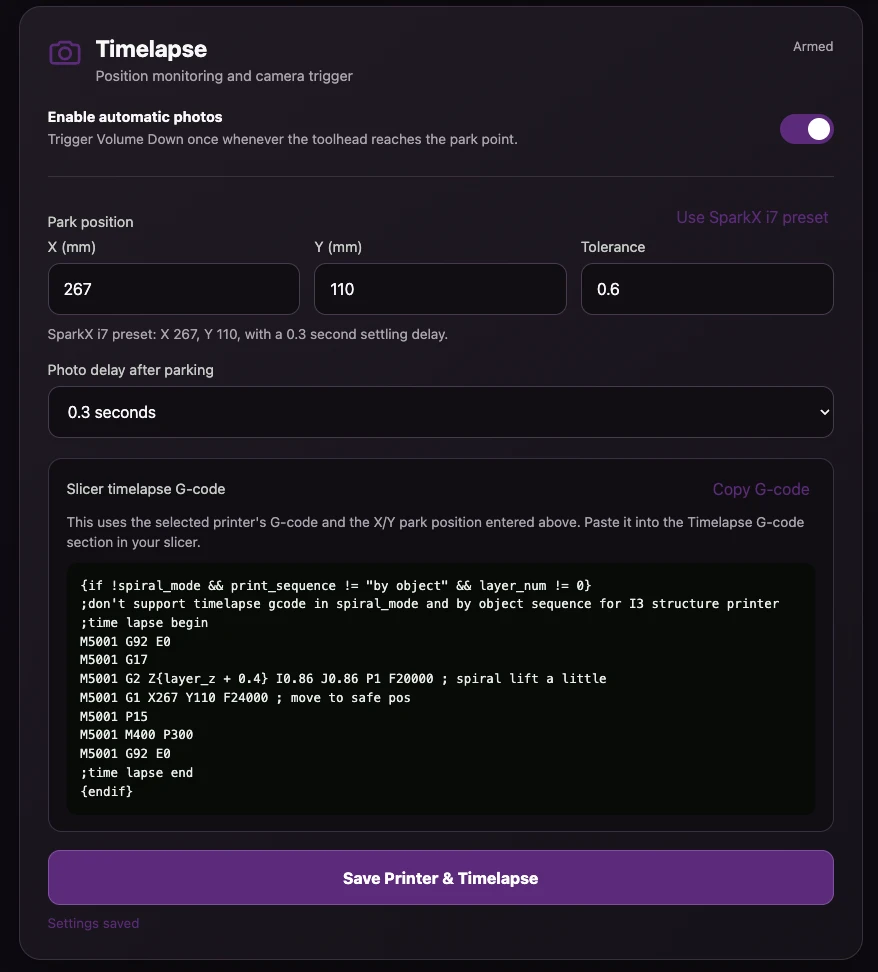
PUT THE NOZZLE IN ITS PLACE
Choose a park point that is reachable and clear of the model, clips and printer frame. Then copy the G-code generated for your selected printer and coordinates into your slicer's Timelapse G-code section.
The SparkX i7 example uses X 267, Y 110, a tolerance of 0.6 and a 0.3-second settling delay. These are reference settings for that printer, not universal coordinates.
Verify the park move on your own machine before starting a print. Use K-Snap's current Copy G-code button rather than copying code from a screenshot.
BUILD YOUR OWN
One controller, a USB lead and the camera already in your pocket.
A compact Wi-Fi and Bluetooth board with USB-C. K-Snap 1.05 is for the ESP32-C3; choose the matching SuperMini board.
Use a data-capable USB cable for the initial installation, then keep the controller powered by USB during printing. A charging-only cable cannot install firmware.
The phone must support a Bluetooth Volume Down shutter command. Keep the Camera app open and the phone in a fixed position while printing. Confirm it takes a photo with Test Volume Down.
Board listing supplied in the K-Snap guide. Keep the controller, USB cable and phone clear of the printer's moving parts.
FROM FIRST CONNECTION TO FIRST FRAME
Install with Ark Flasher, connect your printer and phone, then set up the park move.
Open Ark Flasher in Chrome or Edge on a desktop computer. Connect your ESP32-C3 SuperMini with a USB data cable and follow the guided installation.
This is a factory installation. If you're reinstalling, note your Wi-Fi and printer settings first: the supplied image resets saved configuration.
Open Ark FlasherOn first boot, use K-Snap's setup Wi-Fi to open its setup page. If the page doesn't appear automatically, open http://192.168.4.1/ while connected to that setup network. Join the same home Wi-Fi as your printer, then reconnect your phone or computer to your home network and open the device's local page. The guide's example device is named Ksnap and uses http://ksnap.local/.
In Settings, use Change Network or Reconnect Wi-Fi to change the connection later. If the local address doesn't open, find the device's IP address in your router's connected-device list.
In Settings → Printer, select the printer model, enter its local IP address and check its Moonraker port. The SparkX i7 example uses 4408. Confirm the printer shows Connected.
The address shown in the screenshots belongs to an example setup. Use your own printer's address; reserving it in your router can keep it from changing.
Pair your phone with the Bluetooth camera name shown by K-Snap. Open the Camera app, frame the printer and select Test Volume Down. Continue once the phone actually takes a photo.
Enable automatic photos. Set a safe X/Y park position, tolerance and photo delay, then select Save Printer & Timelapse. Check that the chosen coordinates are reachable and clear of the print before using a preset.
Use Copy G-code in K-Snap after selecting your printer and park position. Paste it into your slicer's Timelapse G-code section. Re-copy it if you change the printer or coordinates.
Commands and travel limits differ between printers. Don't reuse the SparkX i7 example on a different machine.
Check that Wi-Fi, printer and phone are connected, timelapse is enabled and the controller is Armed. Keep your phone still with its Camera app open. The photo counter records shutter triggers; check your phone to confirm images are being saved.
Printer disconnected? Check its IP address, selected model and Moonraker port. Both devices need to be on the same network.
No photo? Re-pair the Bluetooth remote, keep the Camera app open and use Test Volume Down. Check that your camera app treats Volume Down as the shutter.
Wrong timing or missed layers? Watch the live X/Y position, check tolerance and confirm automatic photos are enabled and the slicer is using the current generated G-code.
Blurry images? Increase Photo delay after parking to give the printer and camera time to settle.
Unsafe movement? Stop the print and correct the park position and G-code before trying again.
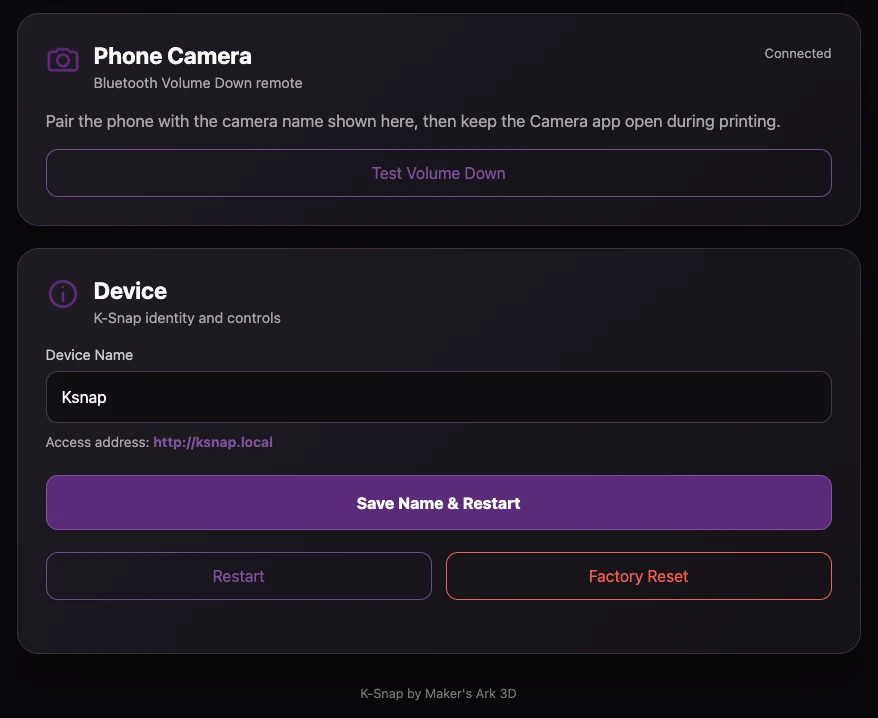
MAKE IT YOURS
Give your controller a recognisable device name, then select Save Name & Restart. Use its new local address after it reconnects.
The shutter test is always close by on the Home and Phone Camera sections. A connected Bluetooth status tells you the link is ready; a test photo confirms your camera is, too.
FIRMWARE 1.05
Ark Flasher provides the complete USB installation for version 1.05. Check the About panel in K-Snap after installation to confirm the version.
The device's Update tab supports compatible firmware or web-interface update files when supplied. The factory image used by Ark Flasher is for USB installation; don't upload it to the Update tab.
Open Ark Flasher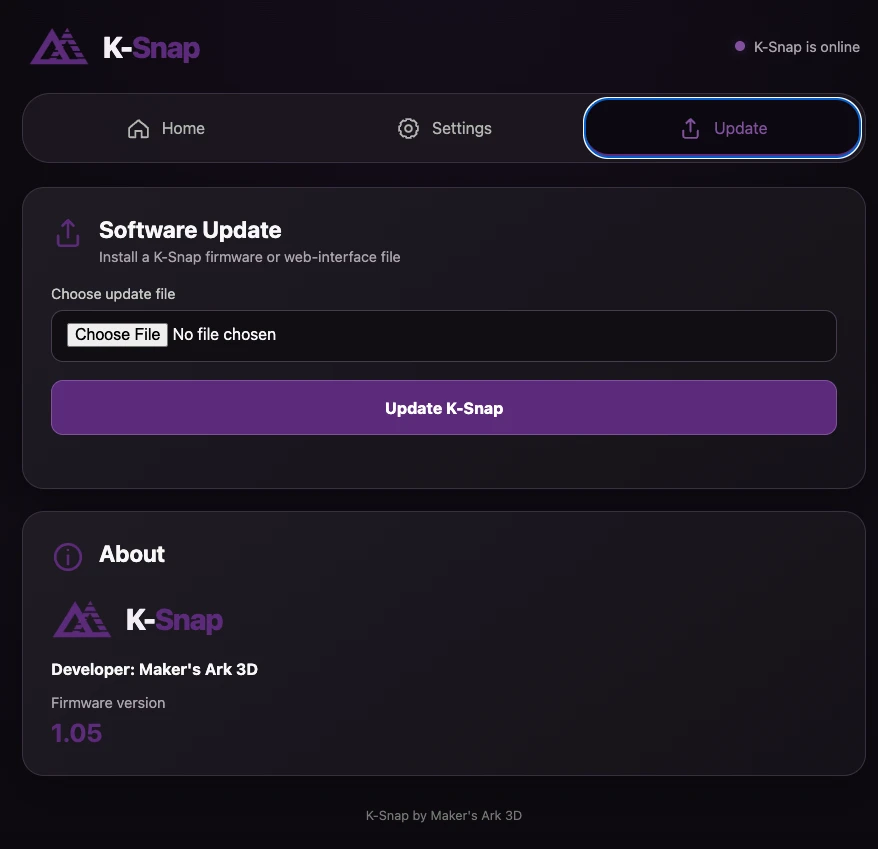
Build the controller. Set the scene. Capture the progress.